8 Essential Jewellery Making Materials Every Student Must Know

Did you know that humans have been making jewellery for over 75,000 years? Archaeologists have discovered ancient necklaces made from shells and stones, proving that jewellery making is one of the oldest forms of artistic expression. Today, jewellery design has evolved into a dynamic field where creativity meets craftsmanship, offering endless opportunities to craft stunning, wearable art. For students stepping into a jewellery design institute in Bangalore, understanding materials is crucial. After all, the materials you choose will determine your design’s aesthetic, durability, and even its market appeal. Whether you dream of designing intricate gold rings or funky resin earrings, knowing the essentials of jewellery making materials will set you on the path to success. Let’s dive into the eight must-know materials that every aspiring jewellery designer should explore.


Jewellery making raw materials

1. Precious Metals: The Backbone of Jewellery Design

Precious metals like gold, silver, and platinum have been staples among the different jewellery making materials for centuries. They’re loved for their beauty, versatility, and durability.

  • Gold: Known for its timeless appeal, gold comes in various purities (24K being the purest) and colors, including yellow, white, and rose gold. Gold is often alloyed with other metals to enhance strength, making it ideal for rings, necklaces, and bracelets.
  • Silver: A more affordable option, sterling silver (92.5% silver) is widely used in modern jewellery. It’s perfect for creating elegant yet cost-effective designs.
  • Platinum: The most durable and luxurious of precious metals, platinum is hypoallergenic and resistant to tarnish, making it a favorite for engagement rings and high-end pieces.

Interesting Fact: Gold is so malleable that a single gram can be stretched into a thread over two kilometers long!


2. Gemstones: Adding Color and Sparkle

Gemstones bring life and vibrancy to jewellery. From precious gems like diamonds, rubies, and emeralds to semi-precious stones like amethyst and turquoise, the options for jewellery making materials are endless.

  • Diamonds: Known as a “girl’s best friend,” diamonds are the hardest natural material on Earth, symbolizing strength and eternity.
  • Colored Gems: Rubies, sapphires, and emeralds are valued for their rarity and rich hues.
  • Synthetic Gemstones: Affordable and ethical, lab-grown gems like moissanite and 

cubic zirconia mimic the brilliance of natural stones.

Pro Tip for Students: Learn to identify and grade gemstones. Knowledge of the “4 Cs” (Cut, Clarity, Color, Carat) is essential for creating and selling gemstone jewellery.


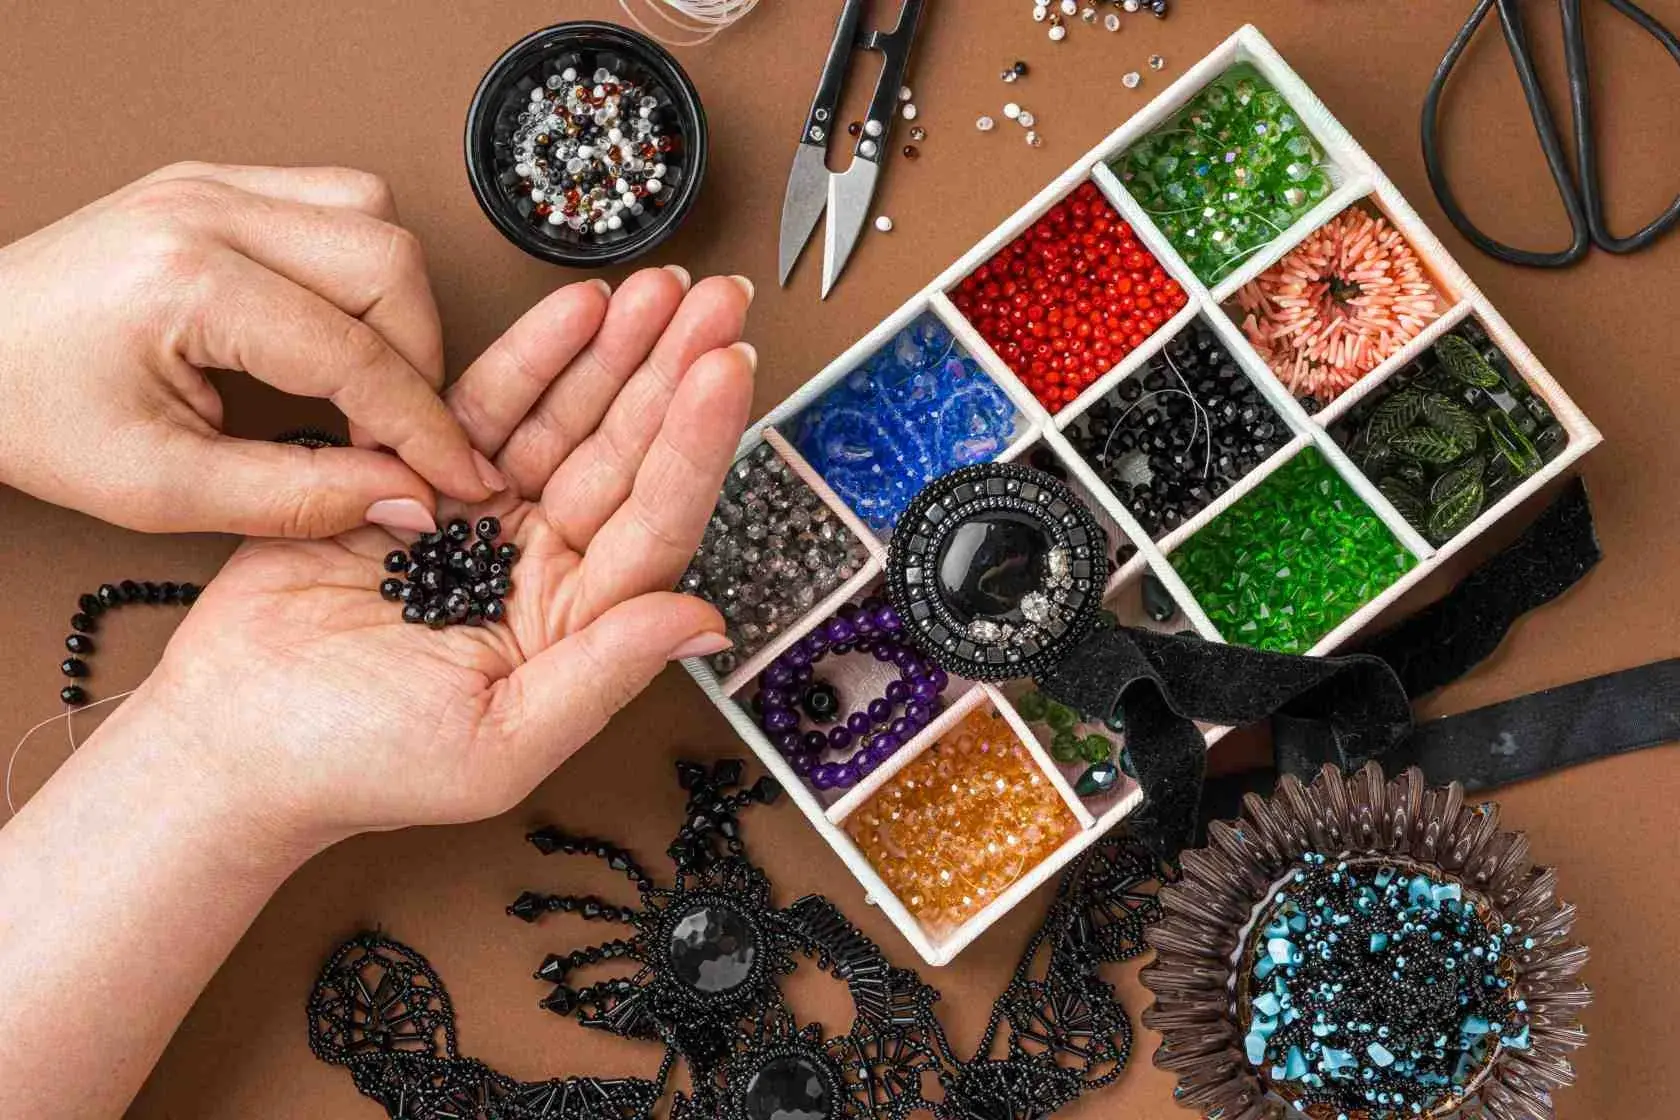
3. Beads: Versatile and Creative

Beads are a jewelry designer’s playground, offering endless possibilities for customization.

  • Glass Beads: Available in a myriad of colors and shapes, they’re perfect for creating vibrant, bohemian pieces.
  • Wooden Beads: Lightweight and eco-friendly, wooden beads are ideal for earthy, rustic designs.
  • Crystal Beads: Swarovski crystals and other premium brands elevate your designs with a luxurious sparkle.

Fun Fact: The art of bead-making dates back to 3,000 BCE in Mesopotamia, where artisans crafted beads from clay and precious stones.


Jewelry making supplies


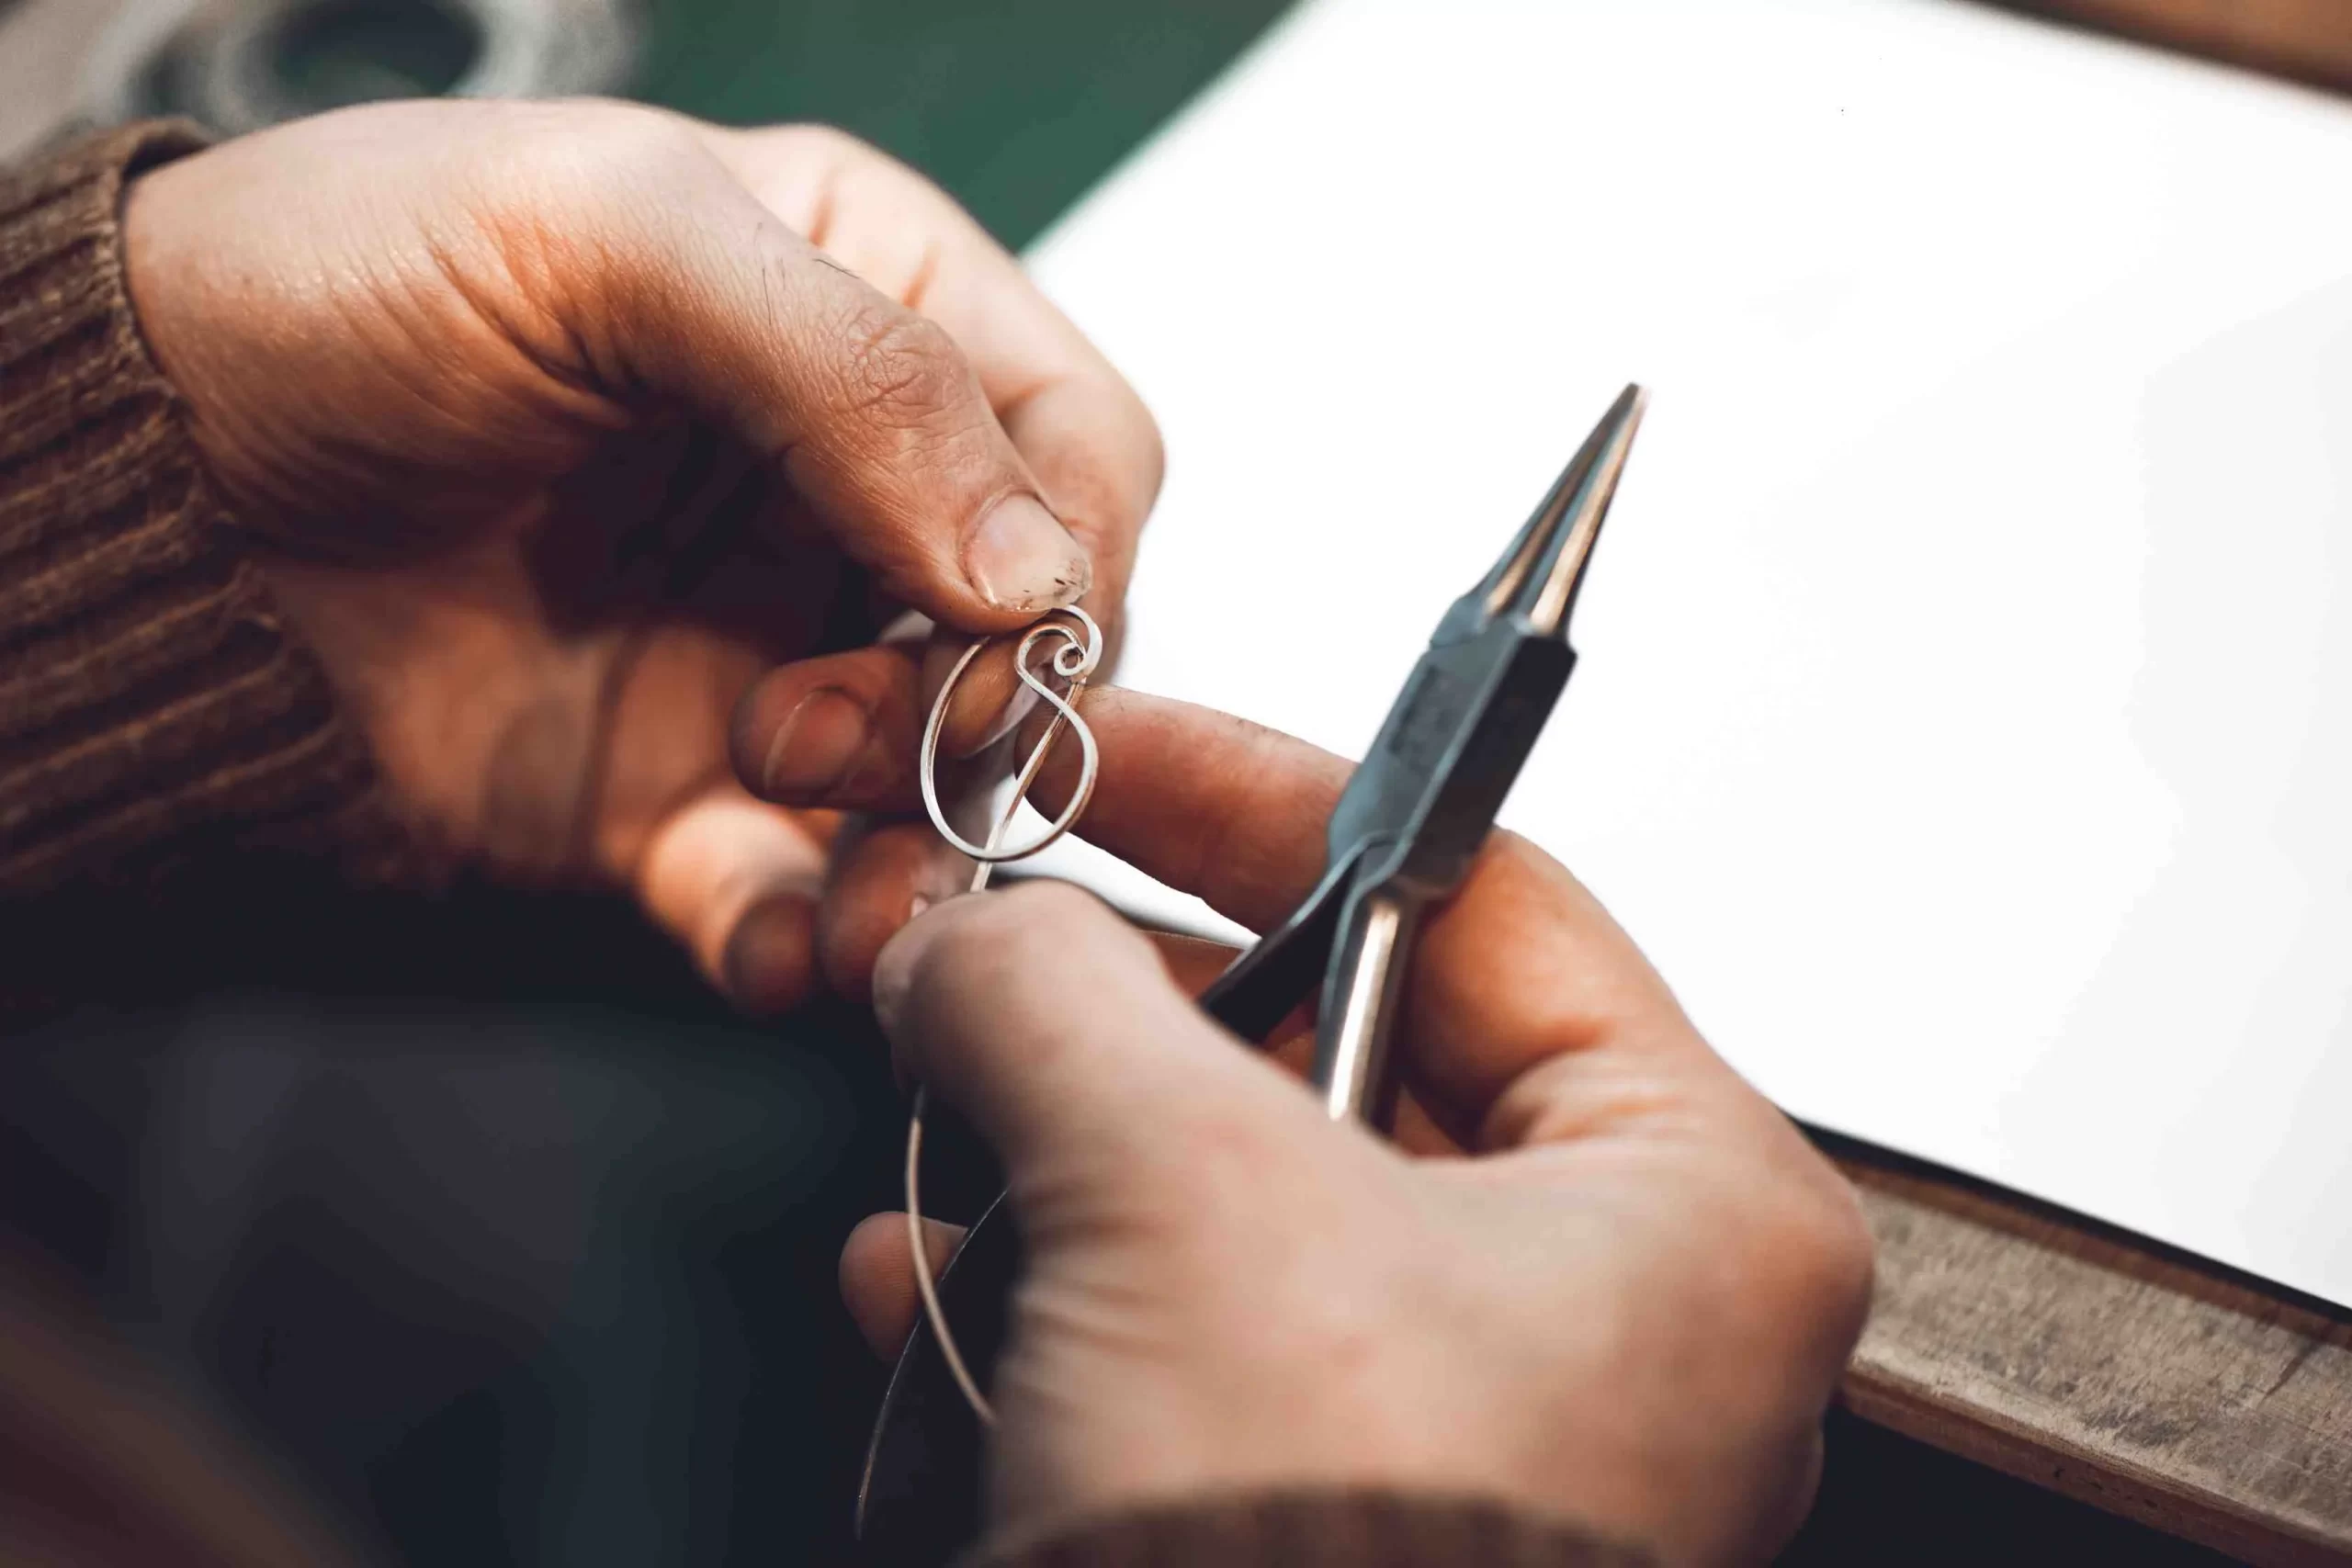
4. Wires: The Invisible Hero

Wires are essential for structural support and shaping designs. They come in various gauges, materials, and finishes.

  • Metal Wires: Sterling silver, gold-filled, or copper wires are popular choices for intricate designs like wire-wrapping and hoop earrings.
  • Memory Wire: A flexible, coiled wire ideal for creating bangles and bracelets.
  • Artistic Wire: Available in colorful, non-tarnish coatings, perfect for playful, modern jewellery.

Student Tip: Master wire gauges! Thicker wires (lower gauge numbers) are great for structure, while thinner wires (higher gauge numbers) work best for delicate details.


5. Resins: The Modern Trendsetter

Resins have revolutionized jewellery-making with their versatility and creative potential. From embedding flowers to creating abstract patterns, resin opens up a world of possibilities.

  • Epoxy Resin: The most popular choice for jewellery, it hardens into a glass-like finish.
  • UV Resin: Cures quickly under UV light, perfect for small, intricate designs.
  • Eco-Resin: A sustainable alternative for eco-conscious designers.

Fun Fact: Resin jewellery gained popularity in the 1960s and is making a big comeback in today’s fashion world!


Jewellery making materials


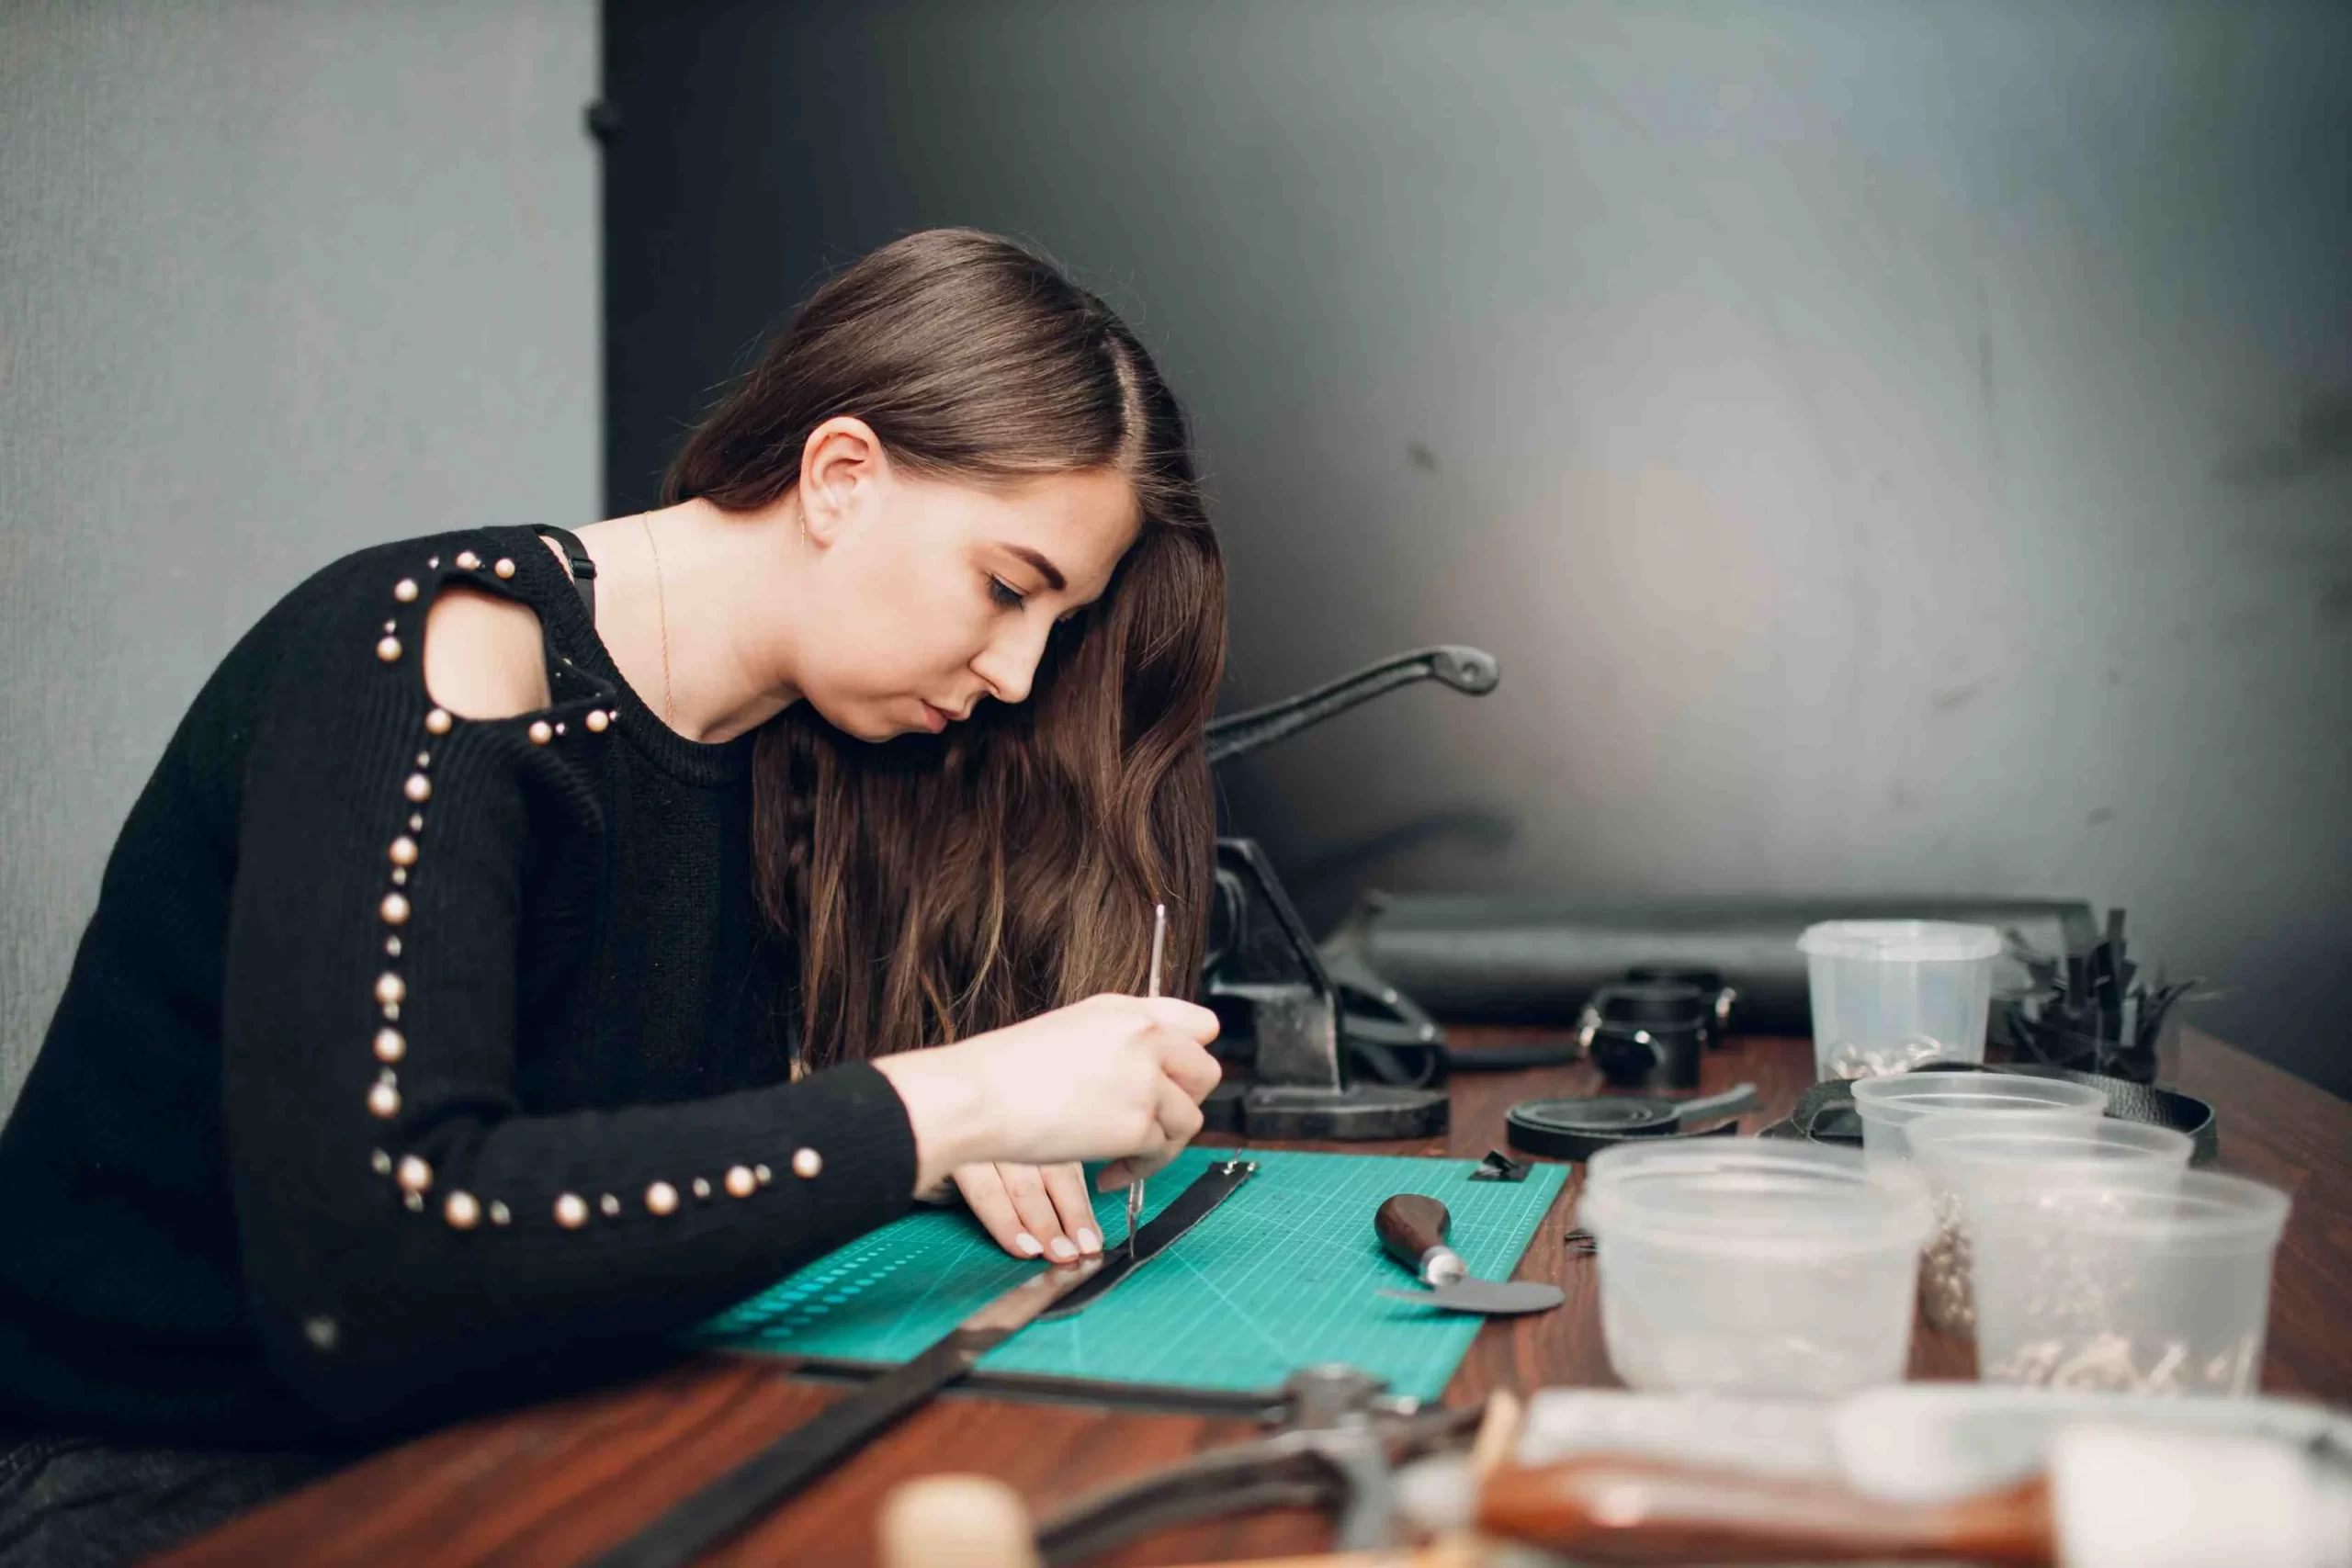
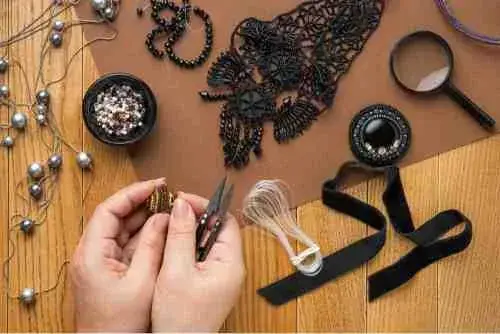
6. Leather and Textiles: For a Rustic or Bohemian Touch

Leather and textiles add texture and character to jewellery, ideal for casual and unisex designs.

  • Leather Strips and Cords: Perfect for bracelets and necklaces, leather provides a rugged, durable look.
  • Macramé Threads: Used for creating intricate knots in boho-inspired jewellery.
  • Silk Ribbons: A luxurious addition to pendants and charms.

Student Insight: Experiment with combining leather or textiles with metal for a modern, mixed-material aesthetic.


7. Clays: Sculpt Your Imagination

Jewellery clays allow for unlimited creativity, letting you sculpt, shape, and bake your designs.

  • Polymer Clay: A versatile material that hardens in a standard oven, perfect for creating colorful beads and charms.
  • Metal Clay: Composed of metal particles, it can be shaped and fired to create pure metal jewellery.
  • Air-Dry Clay: Ideal for students working on quick prototypes or lightweight designs.


Did You Know? Metal clay can transform into fine silver or gold after firing in a kiln!


8. Chains and Findings: The Finishing Touch

Chains and findings are the unsung heroes that hold your designs together and give them a polished look.

  • Chains: From delicate link chains to bold curb styles, chains add movement and versatility to your designs.
  • Findings: Clasps, jump rings, ear wires, and bails are essential components for completing jewellery pieces.
  • Settings: Bezels and prongs securely hold gemstones in place.

Pro Tip: Always invest in high-quality findings to ensure the durability and professional finish of your jewellery.

Jewellery making raw materials

How to Choose the Right Jewellery Making Materials

Choosing the right jewellery making materials isn’t just about aesthetics; it’s about knowing how they work, what they symbolize, and how they enhance your designs. The materials you use can influence not only the look and feel of your jewellery but also its durability, functionality, and market appeal. Whether you’re designing a dainty necklace, bold statement earrings, or a timeless engagement ring, the right materials are key to achieving your vision.


1. Understand Your Design Goals

Think about the style of jewellery you want to create. Are you aiming for bold, statement pieces or delicate, minimalist designs? Your choice of jewellery making materials—beads, metals, or resin—should align with the overall look you’re trying to achieve.


2. Match Materials to Skill Level

As a beginner, start with easy-to-use materials like polymer clay, basic beads, or memory wire. Once you’re confident in your skills, you can move on to more complex materials like gemstones, metal clay, or high-grade metals.


3. Consider Your Budget

Precious metals and natural gemstones can be expensive jewellery making materials, so plan your budget wisely. Use affordable alternatives like gold-plated metal or synthetic gemstones to create beautiful designs without overspending.


4. Think About Durability

If your jewellery is meant for daily wear, prioritize durable materials like sterling silver or leather cords. For experimental or artistic pieces, you can explore more fragile or decorative options.


5. Experiment and Innovate

Don’t be afraid to mix the jewellery making materials! Combining unexpected elements like resin and wood or leather and metal can lead to unique and eye-catching designs. Experimenting helps you discover your signature style.


6. Research and Source Ethically

As a student, learning to source jewellery making materials responsibly is important. Look for suppliers that offer eco-friendly options or lab-grown gemstones to reduce your environmental impact.

Jewellery making

Crafting Your Jewellery Designing Journey

Jewellery design is as much about the materials as it is about the artist behind them. From ancient civilizations adorning themselves with handcrafted trinkets to the high-tech studios of today, the art of jewellery-making has always been a blend of innovation, culture, and personal expression. It’s a craft that tells stories, carries traditions, and, most importantly, allows the creator to leave their mark on the world.

As a student, looking to thrive in a jewellery design institute Bangalore,  materials are like unlocking a treasure chest of possibilities. Each material—whether it’s a shimmering gemstone, a delicate wire, or a bold piece of resin—carries its own unique potential. By experimenting with these materials, you not only sharpen your technical skills but also discover your artistic identity. The process of trial and error, learning what works and what doesn’t, is what turns a student into a skilled designer.

Jewellery-making is a journey of transformation—turning raw materials into wearable art, and in the process, transforming yourself into a creator. So, grab your tools, sketch your ideas, and let your imagination run wild. Whether you’re stringing beads for the first time or sculpting a complex metal design, every piece you create adds to your story as a designer. Remember, even the most renowned jewellers started small, with curiosity as their guide.


Leave a Reply

Your email address will not be published. Required fields are marked *

Street style fashion

Street Style Fashion – Trends and Tips 2025

Fashion Courses Interior Design Courses Jewellery Design Courses UI/UI Courses Visual Arts Courses Other Courses OTHER COURSES Contact us Bengaluru Campus 1 : JD School of Design, No. 18-1, Brigade Road, Bengaluru,Karnataka – 560 001. Campus 2 : No. 40, Swan House, 4th Cross, Residency Road, Bengaluru, Karnataka – 560001. +91 9901 999 903 +91 9901 999 904 +91 9480 323 232 jdfashion@jdindia.com Goa Musthtifund Saunstha , Near Mahalaxmi Temple,Dada Vaidya Road, Goa-403001 +91 9606 096 060 +91 9606 048 888 jdfashion@jdindia.com What is Street Style Fashion? Trends and Tips Street style fashion has become one of the most exciting and expressive parts of the fashion world today. It is not limited to runways or glossy magazines anymore. Instead, it is found on the streets, at cafes, in colleges, in busy markets and even on social media where people experiment with their personal style every day. Street style is built on the idea of wearing what feels authentic rather than following strict fashion rules. It allows you to mix comfort with creativity and gives you the freedom to shape your own identity through what you wear. This is one of the reasons so many young people are drawn to it, whether they are fashion lovers or students exploring Fashion Designing Courses in Bangalore. It gives them real life inspiration and helps them observe fashion where it actually lives. The beauty of street style fashion is that it changes with people, cultures, moods and places. A single street in a city can have hundreds of individuals showing hundreds of different styles. You might see oversized hoodies, layered jackets, printed shirts, loose denims, chunky sneakers, scarves, accessories and so much more. No two people look the same because street style is not about copying trends. It is about personal reflection. When designers study street style, they get to understand how people naturally use fashion to express themselves. This insight is extremely valuable for students studying at Fashion Designing Colleges in Bangalore because real fashion inspiration comes from observation more than textbooks. In this blog, we explore what street style fashion means, the trends shaping it today, how you can build your own street style look and why understanding it is so important for aspiring designers. If you want to study fashion seriously, understanding street style will give you a strong foundation. It shows you how fashion works outside classrooms and runways and prepares you to think like a real designer. By the end of this blog, you will have clarity on how to use street style in your own wardrobe and how it can help you grow as a student in Fashion Designing Courses in Bangalore. What Street Style Fashion Really Means Street style fashion developed naturally from people choosing comfort, expression and individuality over strict fashion rules. The best way to understand it is to look at what defines it. Personal Expression : Street style is all about dressing in a way that reflects your personality. It allows you to mix colors, textures and silhouettes without worrying about whether something is trending or not. Your outfit becomes your identity. Everyday Inspiration : Instead of runway trends, street style comes from everyday life. It draws ideas from city culture, music, sports, college fashion, subcultures and even travel. It shows how real people actually choose to dress. Mix and Match Creativity : One of the most fun parts of street style is mixing pieces from different styles. You can combine vintage with modern, sporty with classy or bold accessories with simple clothing. There are no rules, only creativity. Comfort First Approach : Street style focuses on comfort. From oversized fits to soft fabrics and flexible clothing, people choose outfits they can move freely in. This makes the style practical for everyday wear. Constant Evolution : Street style changes quickly as trends, cultures and moods shift. What people wear today might change next season. This makes it dynamic, exciting and inspiring for those studying Fashion Designing Courses in Bangalore. Key Elements of Street Style Fashion Oversized Silhouettes Oversized clothing is one of the biggest elements of street style. It brings a relaxed, effortless look and allows people to feel comfortable without compromising on style. Oversized jackets, baggy jeans, loose hoodies and wide shirts give freedom of movement and add character to an outfit. They can be paired with fitted pieces to balance the look. Layering Layering is one of the most creative tools in street style fashion. People layer shirts with jackets, scarves, hoodies, long sleeves and even accessories. It adds depth and visual interest to an outfit. Layering allows people to mix textures, patterns and colors, making the entire look more unique. Graphic and Statement Pieces Bold prints, graphic tees, slogan hoodies and statement jackets are very common in street style. They act as the focal point of the outfit. These pieces let people express their personal interests, whether it is music, pop culture or art. Designers often use street graphics as inspiration for new collections. Sneakers and Footwear Chunky sneakers, high top shoes and sporty footwear define street fashion. Sneakers add comfort and style to any outfit and can make even simple clothing look fashionable. They are one of the most expressive parts of streetwear culture. Accessories Accessories such as caps, beanies, chains, layered necklaces, sunglasses and belts play a major role in completing a street style outfit. They help personalize the look further and bring a sense of individuality. Many street style enthusiasts treat accessories as signature elements of their identity. Popular Street Style Trends Today Athleisure Wear Athleisure combines athletic clothing with casual style. Tracksuits, leggings, sports bras, hoodies and sneakers are worn outside gyms as everyday outfits. This style is popular because it is comfortable and trendy. Vintage and Thrifted Fashion Many fashion lovers prefer buying thrifted or vintage clothing. These pieces are unique, sustainable and often have high quality. Mixing vintage items with modern clothing gives a distinct street style look. Denim on Denim Denim jackets, jeans,

VFX in Movies

How VFX in Movies Completely Transformed Cinema

Fashion Courses Interior Design Courses Jewellery Design Courses UI/UI Courses Visual Arts Courses Other Courses OTHER COURSES Contact us Bengaluru Campus 1 : JD School of Design, No. 18-1, Brigade Road, Bengaluru,Karnataka – 560 001. Campus 2 : No. 40, Swan House, 4th Cross, Residency Road, Bengaluru, Karnataka – 560001. +91 9901 999 903 +91 9901 999 904 +91 9480 323 232 jdfashion@jdindia.com Goa Musthtifund Saunstha , Near Mahalaxmi Temple,Dada Vaidya Road, Goa-403001 +91 9606 096 060 +91 9606 048 888 jdfashion@jdindia.com How VFX in Movies Completely Transformed Cinema Cinema has always been a blend of imagination and technology, but the arrival of advanced VFX in movies has completely changed the way stories are told on screen. Decades ago, filmmakers depended only on practical sets, costumes and real locations to create the worlds they wanted audiences to experience. Today, the boundaries between reality and imagination have dissolved. A simple idea can turn into a massive universe with realistic characters, breathtaking landscapes, magical creatures and scenes that would otherwise be impossible to shoot in real life. This transformation is not just about technology growing over time. It is about the way audiences now expect movies to look and feel. The appetite for visual spectacle is bigger than ever, and filmmakers all over the world depend on VFX artists to bring their boldest ideas to reality. If you are someone exploring VFX Courses in Bangalore or searching for the right VFX Colleges in Bangalore to start your creative journey, understanding how VFX in movies changing cinema can give you a strong foundation. It helps you see the true power of the craft you want to learn. VFX is not only about adding explosions or futuristic buildings. It is about storytelling. It is about helping filmmakers say something visually that feels emotional, believable and connected to the plot. When you understand this, you start seeing VFX not as a tool but as a language that brings imagination to life. For students who want to enter this world, knowing the history and impact of VFX in movies is important. It prepares you to learn better, work better and create better. This blog takes you through how VFX in movies has changed cinema, what it means for the future of storytelling and why pursuing a course like a VFX Course in Bangalore can set you on the right path. The Evolution of VFX in Movies & Cinema VFX has grown massively over the years and each phase brought something new to the audience. Here is how evolution unfolded over time. Early Experiments –  Filmmakers used basic camera tricks like double exposure to show magic or illusions. Miniature models were used to create big environments when actual sets were too expensive. Matte paintings added depth and backgrounds that were impossible to build physically. Stop motion animation gave life to characters that could not be created naturally. These techniques became the starting point for modern VFX innovations.  Rise of Digital Technology –  The shift from practical effects to digital effects happened in the late twentieth century. Movies like Terminator 2 and Jurassic Park introduced realistic digital creatures. Computer generated imagery became a standard part of filmmaking. Software like Maya, Houdini and Nuke began shaping the industry. VFX Colleges in Bangalore started training students specifically for these digital tools.  Modern VFX and Photorealism –  CGI began to merge with real footage smoothly. Motion capture allowed actors to give life to digital characters. Green screens and blue screens expanded creative freedom. Realistic simulations of fire, water and smoke became possible. Movies became visually rich and the demand for skilled VFX professionals grew rapidly. How VFX Departments Work Behind the Scenes Below is a structured table explaining key departments inside a typical VFX pipeline and what each one does. VFX Department What It Does Why It Matters Pre Visualization Creates rough animated versions of scenes before shooting Helps directors plan camera angles and action sequences Modeling Builds 3D characters, props and environments Provides the base structure for all CGI elements Texturing Adds colors, patterns and surface details Makes digital models look realistic and lifelike Rigging Adds a skeleton that allows characters to move Allows animators to create natural motion Animation Brings characters and objects to life with movement Creates emotional impact and personality FX Simulation Creates fire, water, smoke, destruction and magic Delivers dramatic and dynamic scenes Compositing Combines live action footage with CGI elements Ensures everything looks seamless on screen Why Students Should Choose JD School of Design for their VFX Course in Bangalore JD School of Design offers one of the most industry relevant VFX Courses in Bangalore because it combines creative training with strong technical foundations. The curriculum is designed to match current industry standards, which means students learn both artistic concepts and advanced software used in leading studios. The learning environment encourages students to experiment, collaborate and develop their own creative voice. The faculty includes professionals who have real production experience and understand how to guide students into building strong portfolios. Another advantage is access to updated labs, high performance tools and opportunities to work on real projects. Students participate in workshops, masterclasses and visits that help them understand what production workflows look like in professional studios. Because JD School of Design focuses on overall development, students learn to think visually, problem solve and communicate ideas clearly which are essential skills for VFX artists. For anyone comparing VFX Colleges in Bangalore, JD School of Design stands out because it helps students move from learning to creating to getting industry ready. The Impact of VFX on Modern Genres This section is written in pointers for quick reading. Action Movies : High speed chases, explosions and stunts become safer and more controlled through digital effects. Audiences get thrilling visuals without putting actors at risk. Fantasy and Mythology : Entire magical worlds, creatures and kingdoms are built using VFX which makes these genres visually rich and believable. Science Fiction : Space travel, futuristic technology, advanced robots and alien

How to Build a Portfolio for Design Students

How to Build a Portfolio for Design Students

Fashion Courses Interior Design Courses Jewellery Design Courses UI/UI Courses Visual Arts Courses Other Courses OTHER COURSES Contact us Bengaluru Campus 1 : JD School of Design, No. 18-1, Brigade Road, Bengaluru,Karnataka – 560 001. Campus 2 : No. 40, Swan House, 4th Cross, Residency Road, Bengaluru, Karnataka – 560001. +91 9901 999 903 +91 9901 999 904 +91 9480 323 232 jdfashion@jdindia.com Goa Musthtifund Saunstha , Near Mahalaxmi Temple,Dada Vaidya Road, Goa-403001 +91 9606 096 060 +91 9606 048 888 jdfashion@jdindia.com If you’re dreaming about design school, or you’re already sketching, stitching, modeling, and animating your way there, your portfolio is more than a folder of pretty work. It’s a doorway into how you think, how you solve problems, how you collaborate, and how you grow. Admissions teams at every design college in Bangalore, from fashion to interiors to animation, sift through hundreds of applications each season. The portfolios for design students that stand out don’t just “look good”; they tell a clear story about the designer behind them. Think about the last time you admired a chair, a garment, a logo, or a short film. You probably asked yourself: Who made this? Why did they make those choices? Could I work with this person? A great portfolio for design students answers those questions before anyone asks. They give context, show the messy middle, and celebrate the small decisions that add up to big impact. In this guide, we’ll walk through what admissions evaluators look for in a portfolio for design students, how to choose and shape projects, how to write case studies that read like stories, how to package everything beautifully, and how to tailor your portfolio for different disciplines such as fashion, interiors, animation, communication, and more.  Whether you’re applying this year or mapping a plan for next, consider this your playbook to build a portfolio that opens doors to studios, scholarships, internships, and, yes, your dream design college in Bangalore. What Are People Actually Looking For In A Portfolio For Design Students?    Clarity of intent. Reviewers want to know what the project tried to achieve and why. A simple one-line brief, problem statement, or prompt at the top of each project sets the stage.   Quality of process. Show your path: research snippets, mind maps, thumbnails, draping tests, storyboards, block-outs, mockups. The journey proves your decisions are grounded, not accidental.   Craft and finish. Clean stitching, neat linework, good lighting for photographs, tidy edges on boards, and consistent typography communicate care. Craft is credibility.   Originality and voice. Your influences are welcome; your voice is essential. Maybe it’s bold color, clever constraints, or humor in your copy. Admissions teams remember voices.   Relevance to discipline. Align your project choices with your target program (fashion, interior, animation, communication, UI/UX). Relevance signals that you’re focused and serious.   Reflection and learning. A short “What I’d improve next time” paragraph shows maturity and growth mindset, gold for reviewers at any design college in Bangalore.   Presentation hygiene. Cohesive layout, readable hierarchy, consistent image treatment, and no typos. Presentation isn’t decoration; it’s part of the design.   The Core Pieces Of A Portfolio For Design Students   A crisp overview page: One screen that introduces you, name, discipline interests, a one-sentence design philosophy, contact links, and a small portrait or icon.   3–6 strong projects: Depth beats volume. For each, include brief → process → outcome → reflection. If you’re applying to fashion designing colleges in Bangalore, add at least one garment or collection concept with fabric experiments.   Evidence of process: Thumbnails, iterations, material tests, colorways, prototypes, animatics. These are the receipts for your decisions.   A skills map: Tools (CLO3D, Blender, AutoCAD, Figma), techniques (draping, pattern making, rendering), and soft skills (collaboration, critique, presentation).   Real-world context: Personal or community impact, constraints, timelines, collaborators, budgets. Even small constraints make a project feel authentic.   Professional polish: A consistent cover style for projects, unified typography, and export settings that keep files light and legible. A Step-by-Step Guide to Building Your Portfolio   Step 1: Define your target Are you applying to an interior designing college, an animation program, or a general foundation year? Your target determines which projects you prioritize and how you tell the story.   Step 2: Audit your work Lay out everything you’ve made: sketches, class assignments, hackathon outputs, passion projects. Tag them by discipline and quality (A/B/C). Keep A, refine B, drop C.   Step 3: Fill gaps with projects Missing a material study, a collaborative brief, or a research-heavy case? Design two weekend sprints to create specific pieces that balance your portfolio.   Step 4: Write the story For each project, draft a 5-part mini case (brief, constraints, process, outcome, reflection). Keep it human and conversational; avoid jargon.   Step 5: Design the layout Choose a simple grid, set two type styles, and pick a neutral color for backgrounds. Export drafts, print a few pages, and check readability.   Step 6: Test & edit Ask friends, mentors, or alumni to review. What do they remember 24 hours later? Keep that. Remove the rest. Editing is a design skill.   Step 7: Prepare variants Keep a full portfolio (10–20 pages), a short one (6–10 pages), and a one-page teaser. Different colleges and studios ask for different formats. Essentials of a Portfolio for Design Students For Different Specializations    Discipline What to Show Five Essential Items Fashion Design Research → sketches → fabric tests → patterns → garment photos (1) Concept moodboard (2) Fabric/trim swatches (3) Pattern/technical flats (4) Fit photos (5) Styled shoot Interior Design Site study → space planning → materials → lighting → renders (1) Measured drawings (2) Zoning diagrams (3) Material board (4) Lighting plan (5) Final renders Animation Story ideation → character development → storyboard → animatic → final shots (1) Character sheets (2) Turnarounds (3) Key poses (4) Storyboards (5) 10–30s animatic Graphic Design  Brief → concept routes → type hierarchy → grid → mockups (1) Brand rationale